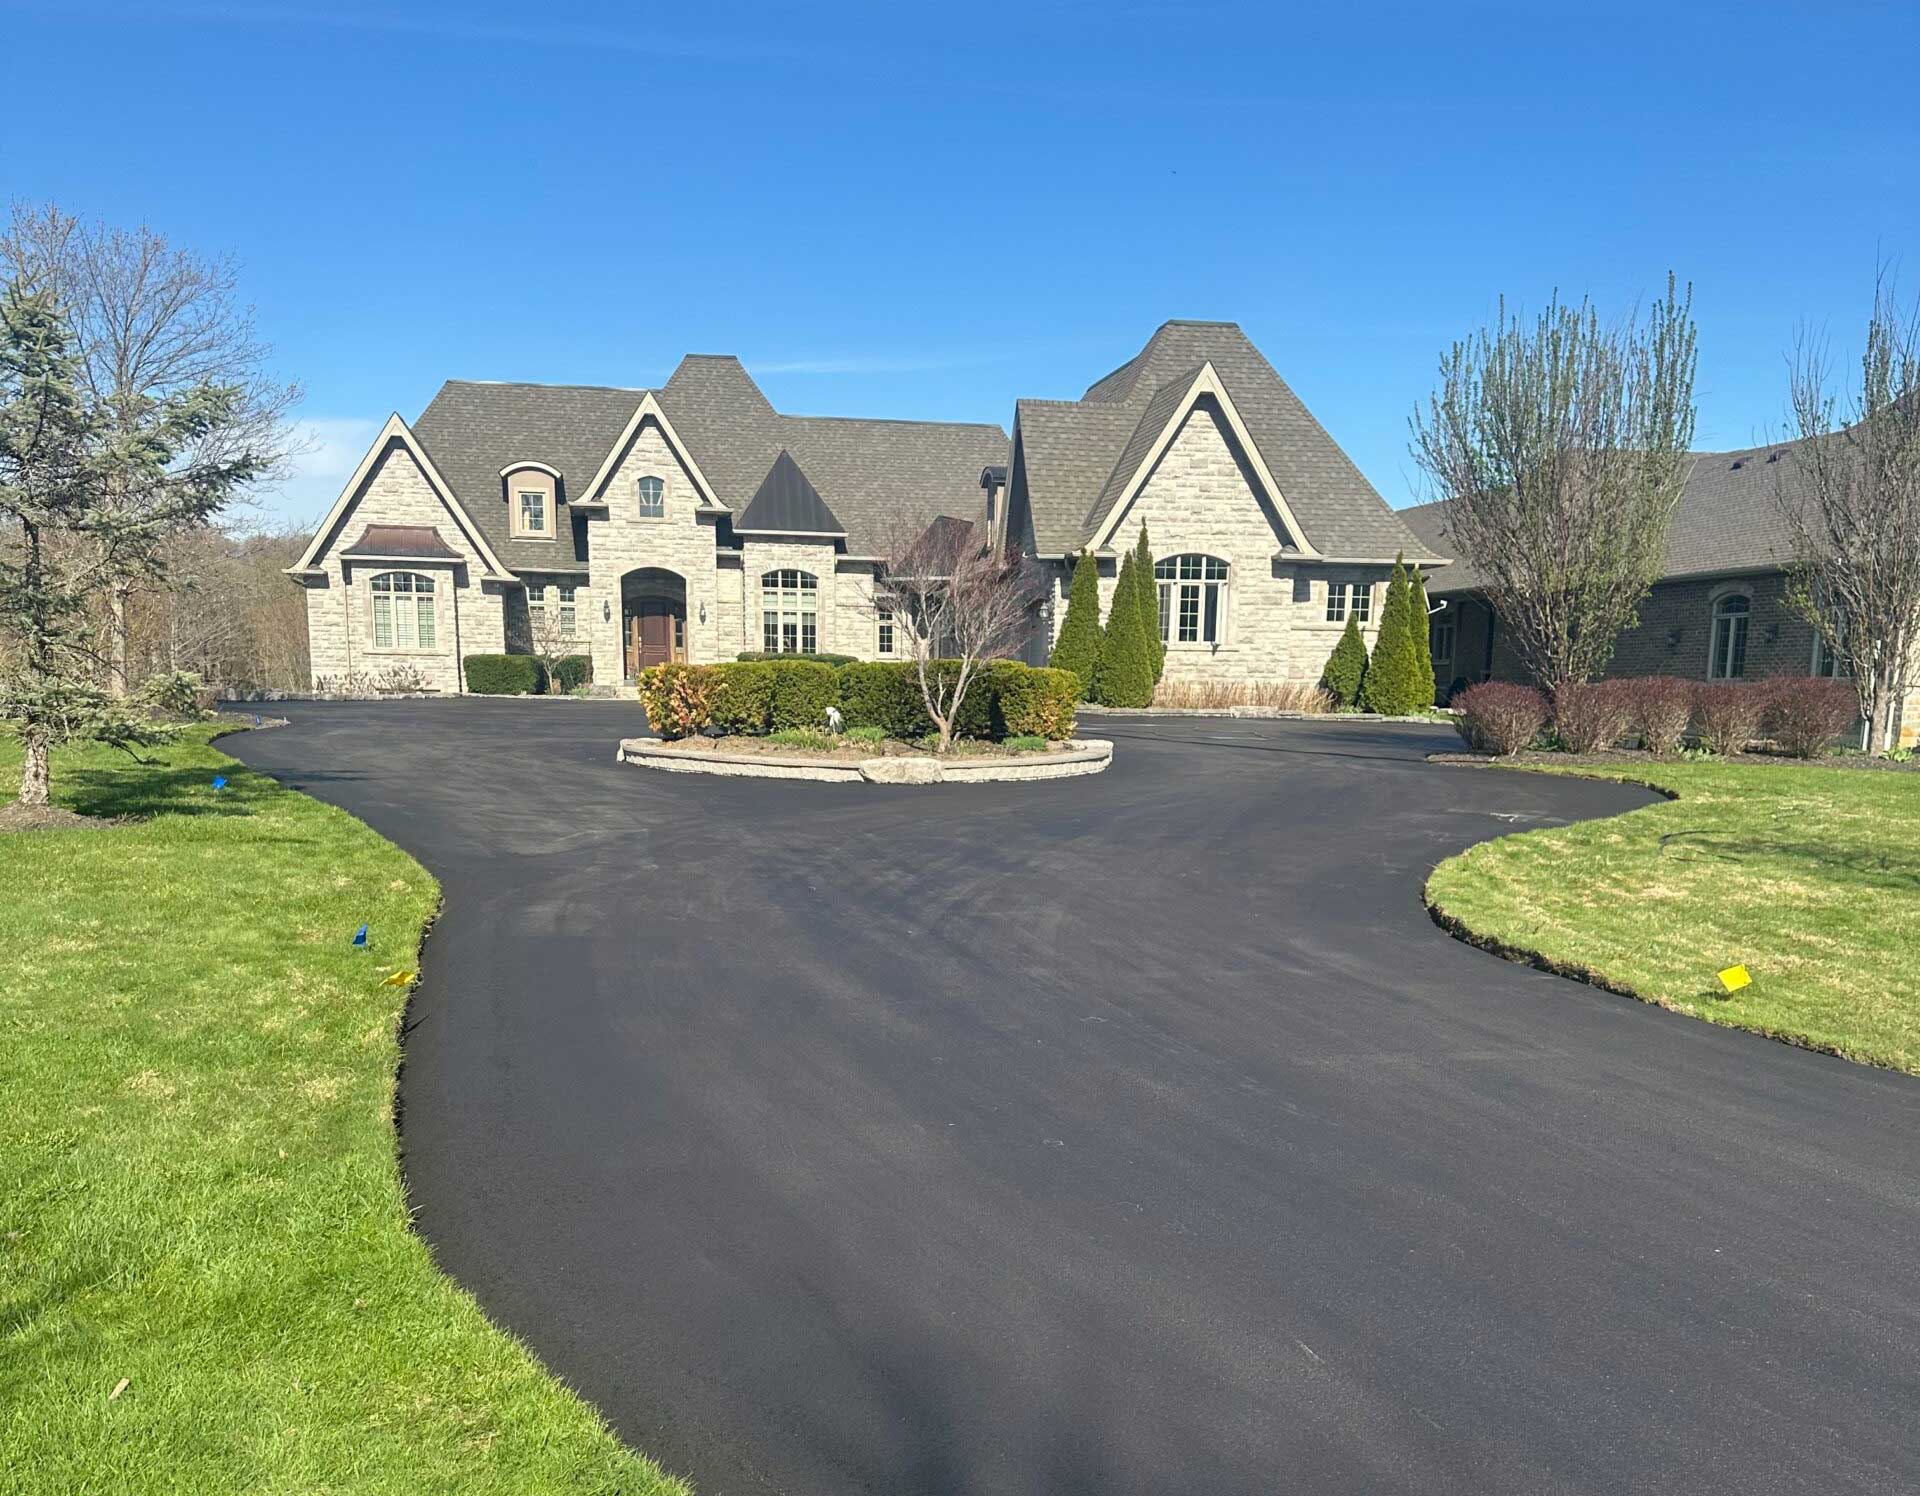
When it comes to upgrading your home’s curb appeal and functionality, few improvements are as impactful as a freshly paved driveway. A new asphalt driveway not only looks sharp but also adds value to your property and provides years of smooth, durable use.
If you’ve ever wondered what goes into asphalt driveway installation, this guide will walk you through the residential paving process step by step. By the end, you’ll know what to expect, how to prepare, and when it’s the right time to call in a home paving contractor.
Why Asphalt is the Preferred Choice for Driveways
Before diving into the new driveway steps, let’s look at why so many homeowners choose asphalt:
- Durability – Asphalt is designed to handle Canada’s freeze-thaw cycles better than concrete.
- Cost-Effective – It provides excellent value for money while still delivering a long lifespan.
- Quick Installation – Unlike concrete, asphalt cures quickly, meaning you can enjoy your driveway within days.
- Easy Maintenance – Minor cracks can be sealed, and resurfacing extends its life.
With these benefits, it’s no surprise asphalt remains the best material for residential driveways.
Step 1: Site Preparation
Every successful asphalt driveway installation begins with thorough preparation. This phase is critical because it sets the foundation for your new surface.
- Clearing the Area – Contractors remove old pavement, grass, roots, or debris.
- Excavation – Soil is excavated to the proper depth to allow for a stable base.
- Grading and Sloping – Proper grading ensures water drains away from your home, preventing future damage.
This is one of the most overlooked new driveway steps, yet it’s the backbone of a long-lasting surface.
Step 2: Building a Strong Base
The next step in the residential paving process is constructing a sturdy base. The base supports the asphalt and determines how well it performs over the years.
- A layer of crushed stone or gravel is spread evenly.
- The material is compacted to create a stable foundation.
- Thickness varies depending on soil type and expected vehicle load.
Without a strong base, even the best asphalt will deteriorate prematurely.
Step 3: Installing Binder Layer
For projects that require extra strength—such as longer driveways or ones handling heavier vehicles—pavers often install a binder layer. This is a mix of large aggregate and oil that strengthens the pavement structure.
Think of it as the hidden reinforcement that ensures your driveway can handle daily use without sinking or shifting.
Step 4: Asphalt Installation
Now comes the exciting part: laying the actual asphalt. This is where your driveway truly begins to take shape.
- Hot Mix Asphalt is poured and spread evenly across the prepared surface.
- Contractors use specialized machinery to smooth and compact it.
- Multiple layers may be applied depending on your driveway needs.
This stage requires experience and precision, which is why hiring a trusted home paving contractor is essential.
Step 5: Compaction and Finishing Touches
Compaction is the final step in ensuring your new driveway is smooth and durable. Heavy rollers compress the asphalt, locking the aggregates together for maximum strength.
Finishing touches may include:
- Neat edging for a clean look.
- Smoothing transitions to sidewalks, roads, or garage floors.
- Sealing edges to prevent water penetration.
Once compacted, your driveway looks complete—but it’s not ready for vehicles just yet.
Step 6: Curing Time
One of the most important things homeowners need to know about how driveways are paved is curing time.
- Foot traffic: Safe within 24 hours.
- Light vehicle traffic: Typically allowed after 2–3 days.
- Heavy use: Full curing takes several weeks, depending on weather.
Patience during this period ensures your driveway lasts longer and avoids early damage.
Maintenance Tips for a Long-Lasting Driveway
Installing a new driveway is just the beginning. With the right care, you can extend its life significantly:
- Sealcoating – Apply every 2–3 years to protect against UV rays and water damage.
- Crack Filling – Address small cracks quickly to prevent them from expanding.
- Avoid Heavy Loads – Limit the weight of large vehicles parked long-term.
- Proper Drainage – Keep gutters and edges clear to avoid pooling water.
These tips go hand in hand with the residential paving process to ensure maximum return on investment.
Common Questions About Asphalt Driveways
Q: How long does asphalt driveway installation take?
A: Most residential driveways take 2–5 days from excavation to compaction, depending on size.
Q: How long will my new driveway last?
A: With proper maintenance, you can expect 15–20 years or more.
Q: Can I pave over my old driveway?
A: Sometimes. If the base is stable, resurfacing may be an option, but a contractor will advise on the best solution.
Why Hire a Professional Home Paving Contractor?
DIY projects can be tempting, but asphalt paving is not a weekend job. The right home paving contractor brings:
- Expertise in grading and drainage.
- Access to professional equipment.
- High-quality asphalt mixes.
- Workmanship warranties for peace of mind.
Hiring professionals ensures your driveway is not only functional but also adds curb appeal and value to your home.
A Smooth Investment for Your Home
A new driveway is more than just a place to park your car—it’s an investment in your property’s appearance, safety, and value. By understanding the residential paving process and the new driveway steps, homeowners can make informed decisions and work confidently with a home paving contractor.
If your current surface is showing signs of wear or you’re building a new home, now may be the perfect time to schedule an asphalt driveway installation.
👉 Ready to transform your driveway? Contact us today to learn more about how driveways are paved and to get a free estimate tailored to your home.

